Showing posts with label Tips. Show all posts

Thursday, May 19, 2016

TT02 FRD: Swapping Eagle Parts to Reduce Front End Play

I really like my Eagle Racing TT02 FRD, and plan on keeping it for a while. If I have one main complaint about the chassis it is the excessive amount of front end slop it has. I have changed rod ends, and shimmed up places as much as I could, but there are some things that can't be fixed as easily without causing binding. The stock upper arms are one of the main culprits here. Despite having a seriously long pivot shaft, the arms were designed too narrow, and due to manufacturing tolerances, this created a lot of slop in some cases.


I think Eagle listened to it's customers and team drivers, and chose to make this better on the new TT02 RWD chassis that was recently released.

Saturday, February 6, 2016

Product Showcase: Usukani Rear Shaft Conversion Kit for Sakura D4

There is no doubt that the 3 Racing Sakura D4 has taken off since it was introduced. The same can be said for Usukani. This young brand has gained interest and momentum worldwide in a short amount of time. They have put a lot of focus on the Sakura D4 and are delivering unique upgrades for this popular chassis. Usukani's latest and most significant upgrade to date is the Rear Shaft Conversion Kit for the Sakura D4. They are producing it in Pink, Black, Silver, Yokomo Blue, and Red. The USA pricing on this little gem is a mere $78.


This kit is very comprehensive, and replaces the entire rear drive section and bulkhead on the D4.


It comes packaged neatly, and protects the finish on all the parts nicely.

Tuesday, January 26, 2016

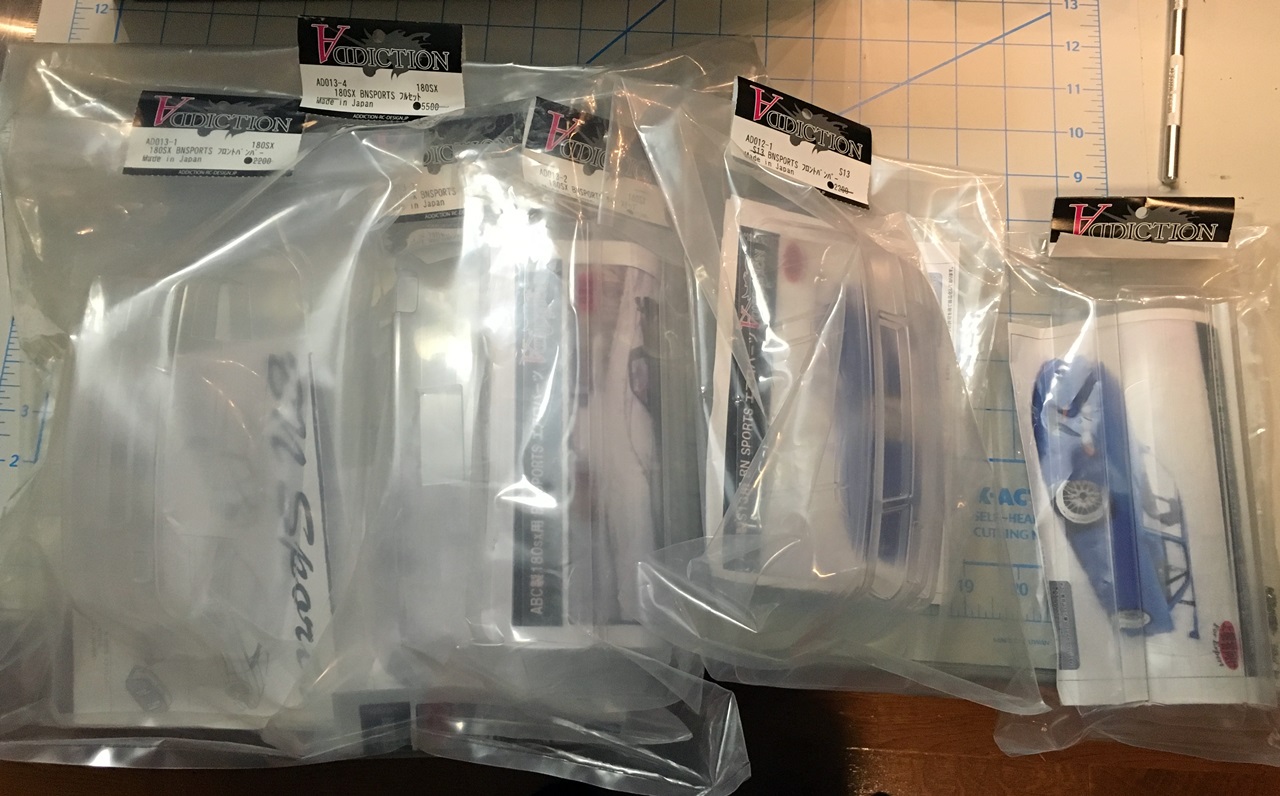
A Tale of Two Body Builds: ABC Sileighty + Addiction BN Sports Part 1

Not long ago I saw a video on YouTube from Street Break Circuit that featured a USDM 240SX Coupe. ABC Hobby doesn't make that particular body, and the one in the video had the front end from the ABC 180SX grafted on. As much as I loved the shell, I could not justify buying two pricey bodies only to cut one up for the front clip. Then after some searching I learned that the pig nose 180SX body came molded as a Sileighty that included a separate nose section with the pop up headlights.

That is when the lightbulb came on and a plan was formed. I ended up buying both bodies to build. The Sileighty is being built first and I intend to put it up for sale once it is completed to offset the cost of getting the parts I needed to do the 240SX. Originally, I was just going to make it a stock version of a Sil80, but the new Addiction RC BN Sports kits kept calling my name, so I picked up those sets as well, and I'm glad I did.


Monday, January 18, 2016

Designing a New Style of Wire Retainer

One of the things that I haven't used in my chassis builds up until now is motor wire retainers. I like the look of them, but don't care for the cost. Once I have my motor wires all done up neatly, what do I do with the sensor cable? Recently I gained access to a 3D printer, so I thought I would work on a better wire retainer design as a first project. Someone may have already done it, but I have not seen a design that also retains the sensor cable. So I modeled up the design in Solidworks, and printed out the first prototype parts.


Saturday, January 9, 2016

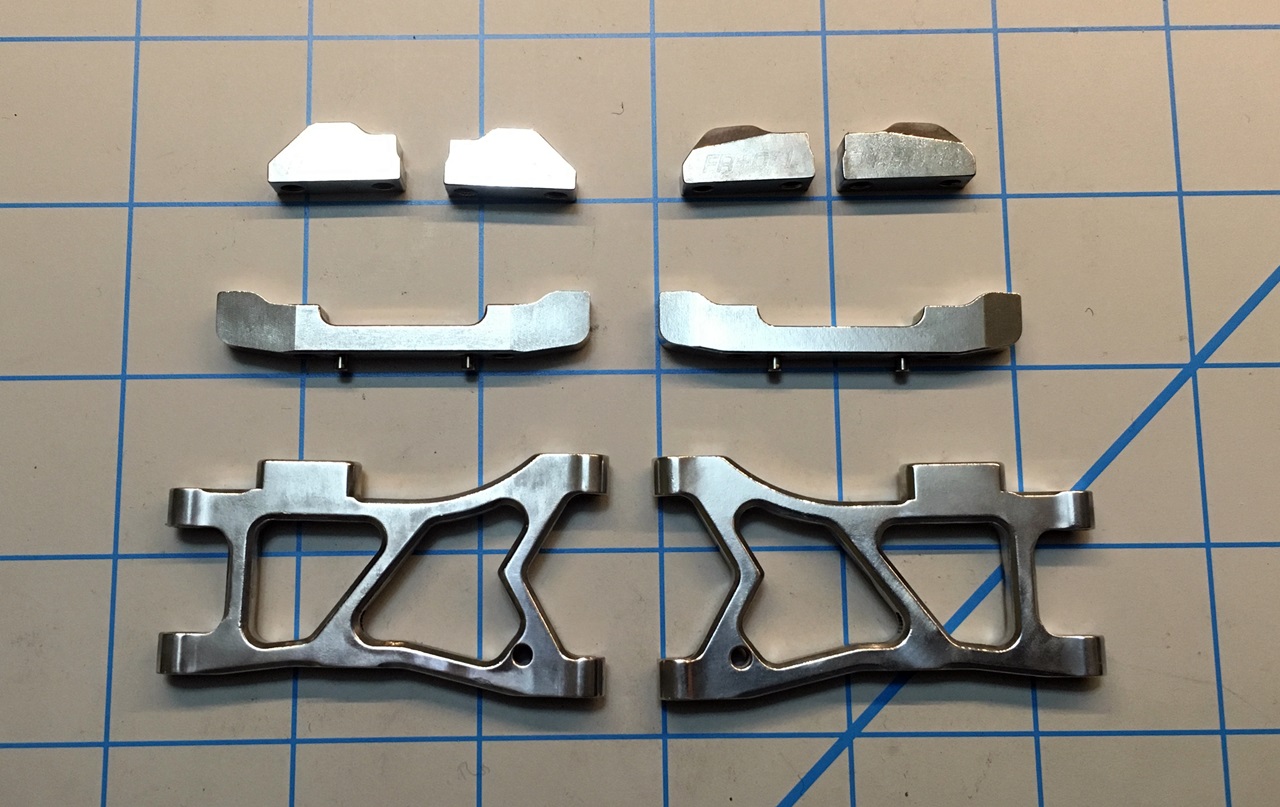
Sakura D4: Suspension Blocks and Rear Lower Arms

A lot of time has been spent de-anodizing (pink) and polishing aluminum parts on this chassis, and hopefully this will be the last batch for a while. It is really time consuming.


I would have done these mods earlier, but had to wait for some of the parts to be in stock. The suspension blocks are from 3 Racing and the rear arms are Yeah Racing D3 arms. As mentioned in an earlier post, I like the D3 arms because of the narrower track compared to the D4 arms, giving a little more adjustment range by using spacers and/or wheel offset. This is a short term solution while I am waiting for Usukani to release their new rear arm design. Hopefully soon...


Wednesday, December 2, 2015

Project Bad Bunny: Paint and Starting Assembly.

Work has been moving slow but steady on project Bad Bunny. All the parts are painted and assembly has started. I went with Tamiya PS-23 Gunmetal for the color, and backed it with PS-5 Black to make sure it had a dark hue to it.


The first part to go on was the rear wing. I did that in two stages to make it a little easier. First I attached it at the back with shoe goo. Once that was dry I used body screws for the part that attaches to the trunk.

Saturday, November 7, 2015

Project Bad Bunny: Intro and Body Prep

I am finally getting around to a project that I have been wanting to build for quite a while. The Demi Works Rocket Bunny conversion for the Tamiya FD RX-7 has been in my sights since it first came out. With some other projects out of the way, it is time to get started.


The Demi Works kit is pretty nice overall but, as mentioned by others, the lexan is a little different in how it cuts, so I changed my normal procedure for trimming it out.


Monday, September 21, 2015

Project Punisher S13 Part 2: A Few Details

Even though I plan to run this body regularly, I wanted to add a few details to enhance the overall look of the car.   The thing that probably has the biggest visual impact is a roll cage.  It is made from .134" styrene rod that is bent with heat where needed and glued together.  I painted it to match the blue in the Rockstar logo to offer some contrast.


Saturday, August 22, 2015

Sakura D4: Build Tips

Having finished up the 3 Racing Sakura D4 build, I thought I would share a few tips that could help the build and setup process go a little smoother.

The single biggest tip I can give is to buy a 3mm (M3 x 0.5)tap and use it everywhere that a 3mm screw needs to screw into a plastic part.  The only exceptions would be where the droop screws go on the control arms and the screws that hold the battery retainer plate (the one that swings away for loading the battery).  For the rest, pre-threading the holes will help the assembly process go much smoother, and you will be able to more accurately tighten the screws.  This helps prevent stripping the plastic by accident and rounding out the hexes in the screw heads.


Next...