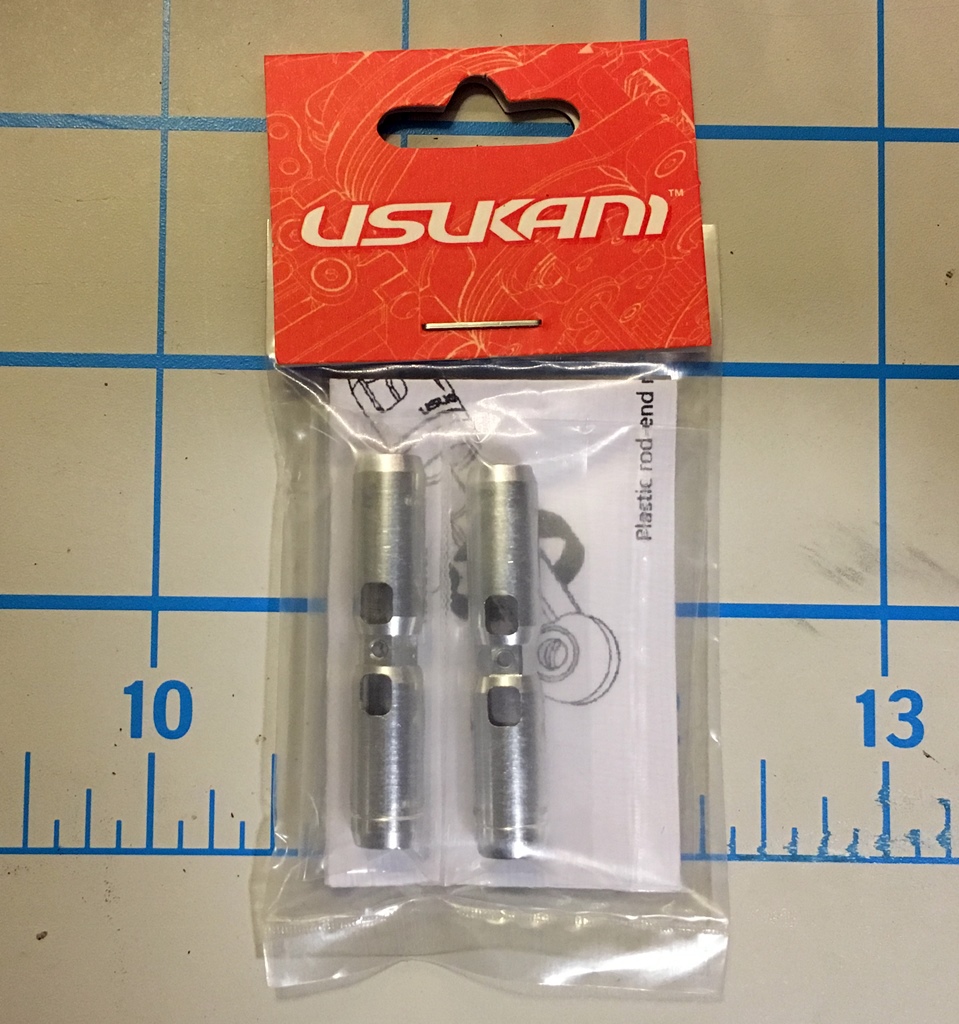
One of the interesting products offered by Usukani are these neat tube style turnbuckles. They come in several standard lengths; 23mm, 27mm, 33mm, and 39mm. They also come in the following colors; Pink, Purple, Red, Gold, Tamiya Blue, Yokomo Blue, Silver, and Black. They have internal threads that work with plastic rod ends. Usukani recommends using them with Yokomo rod ends, but I was able to make them work just fine with my 3 Racing parts. I think they will work with other brands as well, but I have not been able to test them personally.

I chose the 39mm Silver version for my Sakura D4 rear upper turnbuckles. As you can see in the comparison with the stock turnbuckle assembly there is plenty of thread engagement, and adjustment range. They should be very strong, too. The turnbuckles can be adjusted with a 5.5mm tool, on the flats, or there are a couple of small holes through the middle that a small hex tool can be used in. There is also an identifying band machined in one end to designate left-handed threads, making it easy to know which way to adjust them.
The Usukani tube style turnbuckles add a nice extra bit of style and functionality to your drift chassis. They should look really good once I have some more aluminum upgrades on my own chassis.