Once I saw this project, I knew that I wanted to try something similar. It combines many of my current and past hobbies into one complex project. First I needed to decide what I wanted to build. That part was easy...a CAT Track Loader. When I was a kid some of my earliest memories were from watching a track loader dig foundations and grade dirt in my neighborhood as houses were being built all around us. My childhood career aspiration was "being a bulldozer driver". I had Tonka construction equipment, and one of my favorite Lego sets was a cool track loader. So, yeah, that all left a permanent impression.
For this project I chose something that I have not seen modeled before; the CAT 963K Track Loader.


The common scale for RC Trucks and Construction Equipment is 1/14:1. I wanted to make as accurate of a replica as I could, and I think that may be one of the biggest challenges of the project. Often when folks scratch build these sort of machines they rely on a diecast model or are lucky to find blueprints of the model somewhere to start with. In researching this project I was only able to find some CAT literature (sales brochure) for this particular model. But I think it contains enough info for me to get it pretty close. One key part was a really nice 2-view drawing in the literature that has many overall dimensions for the 963K.

I use Solidworks for 3D modeling at work, so naturally that is what I was going to use to design this project. I was able to use this 2-view image in Solidworks and scale the overall height to 1/14:1 of the 1:1 specification. Once this baseline was established, it allowed me to start sketching over the outlines of parts for profiles, and getting dimensions so that I could start building an accurate model.
Many, many hours later, and I am off to a pretty good start. I started with modeling the tracks first, and the basic undercarriage parts. Then I moved on to the basic chassis tub, bucket and lift arm.


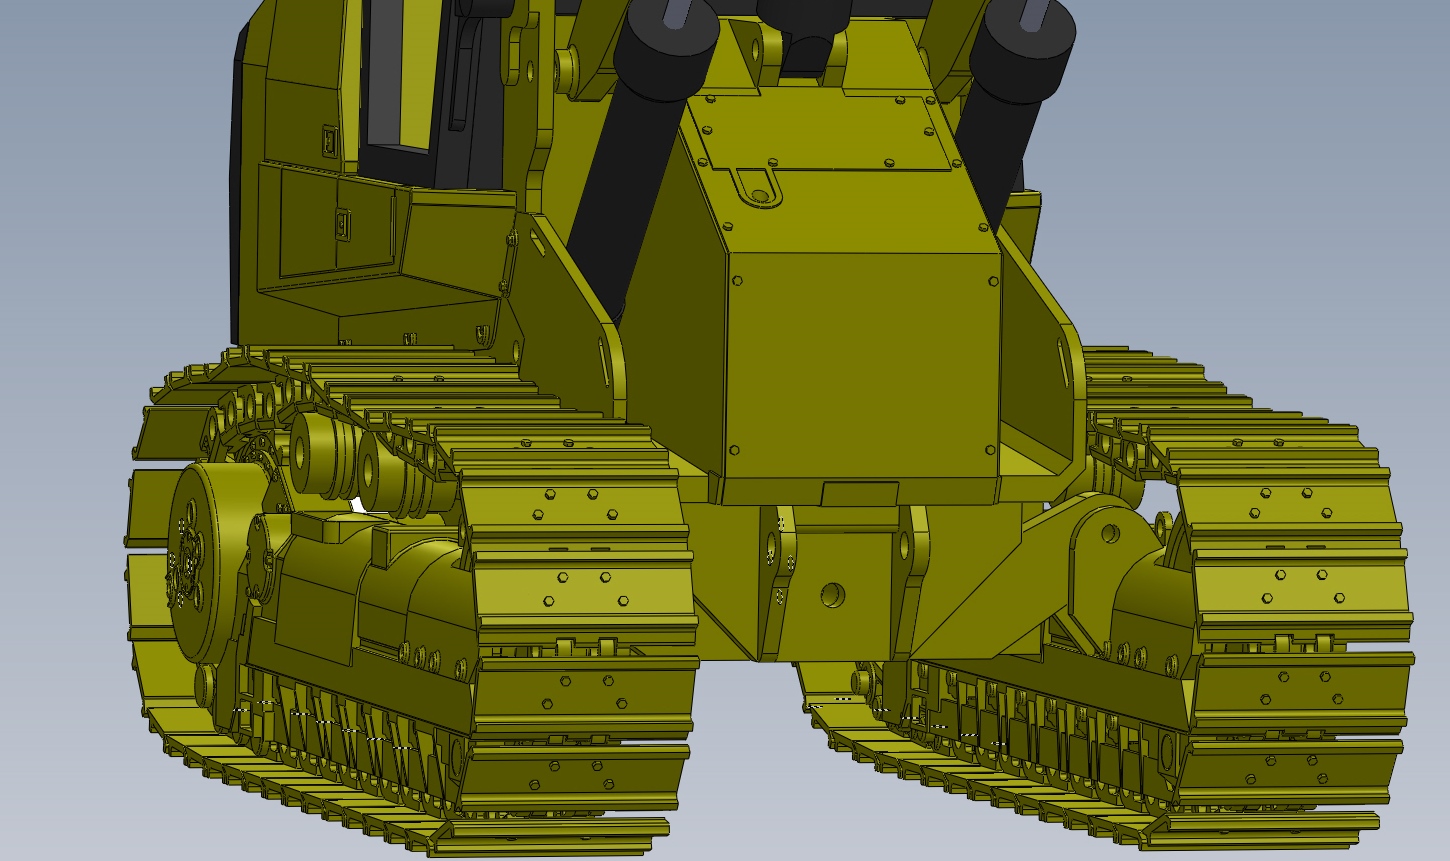
I have been using the images in the literature as a guideline for adding detail to the models. It can be tedious at times, but I am liking the look and proportions of things so far. I also have to consider that I am 3D printing almost everything, and have to take that into account while designing also.
There is still a lot of work left to do from the design standpoint, but it is really starting to shape up at this point. There are lots of details that need to be added to many of the components, but it is nice to see how the basic structure is looking.


The Raspberry Pi gives me lots of interesting capabilities and options, along with costing less than traditional RC gear. The challenge will be in the programming, because that is one thing that I am not very experienced with. It should be fun to learn along the way.
Stay tuned for more...
No comments:
Post a Comment